There are a million different ways to start a creative process, none of which are ‘wrong’. However, some do make life easier than others, here I’m sharing my learnings from years of using collage as a sketch method. We’ll cover how to start out gathering ideas, scale options, applying the paper and setting the collage.
Starting out:
- Get some inspiration
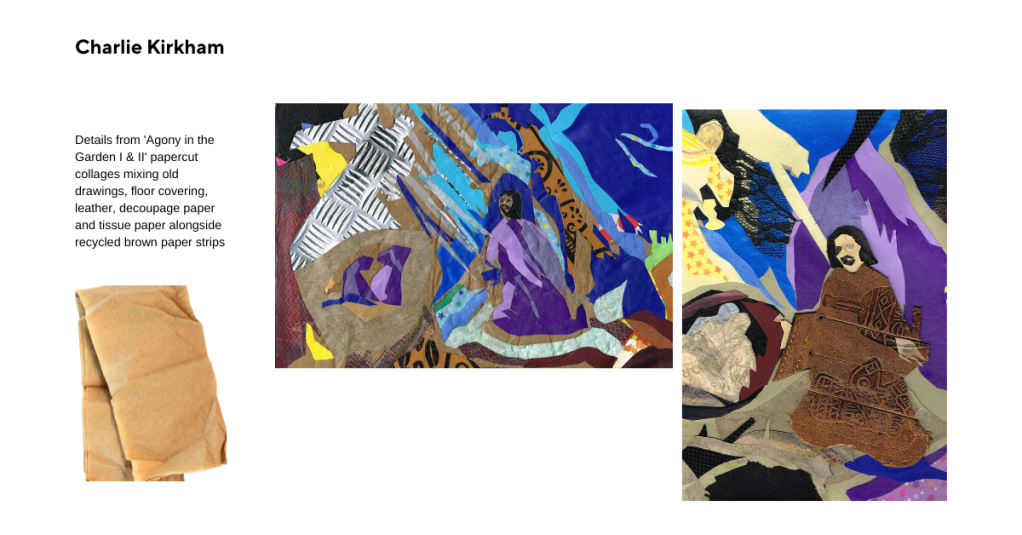
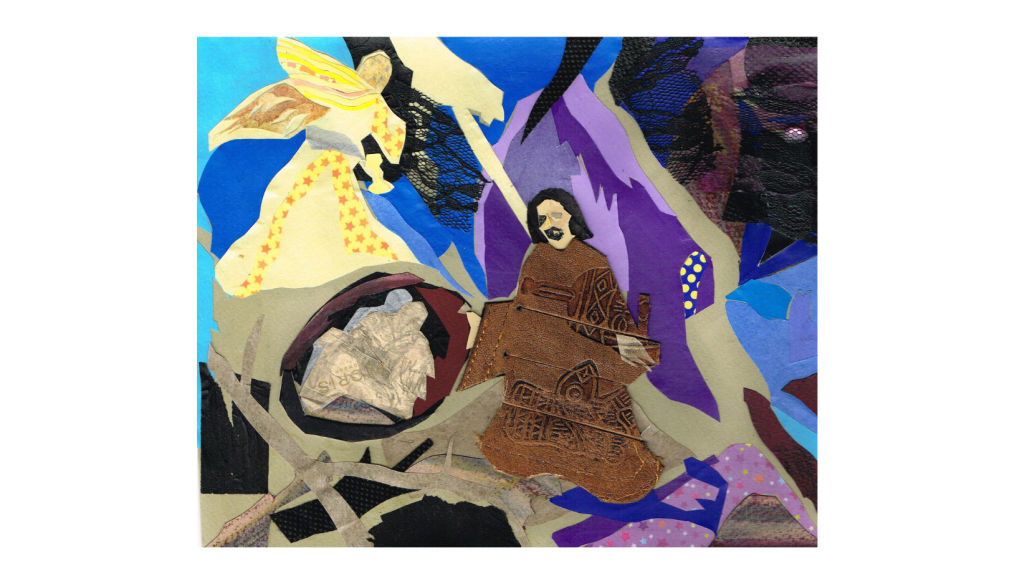
For me, this means looking to nature, the masters and researching. This pair of papercut collages for example, are inspired by El Greco. I based them on sketches taken at The National Gallery, London.
- Think about scale
Is this collage a sketch for something else (painting, bigger work?) or does it need to stand alone? Whatever scale you choose to work on really invest in your support. In the early student days I’d work on anything, cardboard, old pizza boxes, whatever! Needless to say, ten years on and the cheap materials haven’t stood the test of time.
If you’re thinking of going big, mountboard, plywood or even canvas can work well. Think about incorporating the support into the work by leaving blank areas of bold colour.
Top Tip: collage is one of the most hands on, time consuming forms of making. If it’s a commissioned piece with a tight deadline work on a scale that you’ve used before.

- What materials will you use?
This is very much dependent on what message you’re trying to convey with the work. In my artistic practice wherever possible I upcycle papers, sheets and fabric. There are some materials that can be reused and remain stable, such as high quality paper. Other materials, for example leaves or dried flowers need much more careful preparation to avoid the artwork deteriorating.
When buying papers specifically for collage there are an overwhelming number of options. To start with origami or decoupage paper is thin, easy to cut and useful for layering. It is available double sides giving a range of options for relief work as well as flatter collage.
Top Tip: create every work as if someone is going to buy it and display it for 50 years because there is someone out there who will want to.
- How are you going to cut it?
I am in total awe of the hand cutting artists out there. Artist Claire Brewster springs to mind with her intricate hand cut maps depicting birds. If you have strong steady hands this is a wonderful way to create artwork that feels ‘hand drawn’.
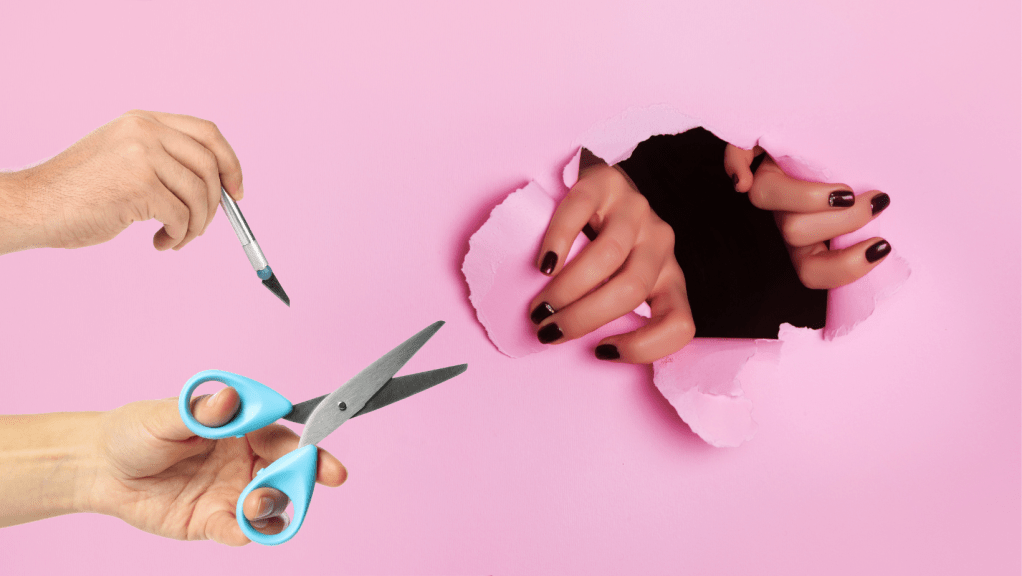
For me, hand cutting is a great tool in the box. There’s also the Cricut or Brother ScanNCut paper cutters (which can cut thin papers and fabrics). These all give you the option to replicate designs and save a lot of time.
Wish I’d known about cutting machines when I hand cut that 4ft collage…
Let’s not forget the humble paper guillotine here either, it’s perfect for straight edges, precision paper weaving and finishing.
There’s something eternally beguiling about the way paper feels as you tear it. Tearing collage into shape lends an organic feel to the work. Juxtaposing very carefully considered cut work with torn areas can look especially beautiful.

- How do I attach it?
As important as the support surface is, the best surface is not going to give a great result if the collage is attached with a glue that remains tacky (looking at you Spray Mount!) or yellows.
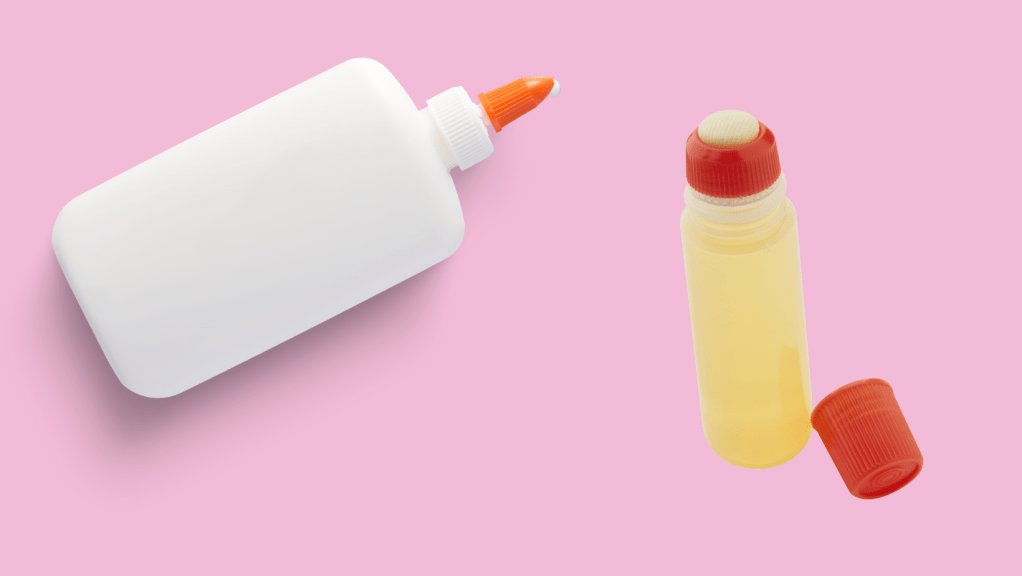
My early collage art used cheap kid’s glue and PVA. Many hours of labour was wasted on work that had big lumps of glue and yellowed. When they were fun experiments this didn’t bother me as most got chucked out. Later, as more and more people started asking to buy the collage work, I knew I needed to up my game.
Glue wise I use Mod Podge or Decoupatch for paper and light materials. For heavier materials like wood Gorilla Glue is my go to. When my collages are complete I use a couple of layers of varnish to set them into place.
Top Tip: even if you want a gloss finish apply two layers of matt varnish first, dry, then photograph the work. Apply the gloss varnish after photographing. This makes the work much easier to document without reflections.
Do you have to glue it?
No! You can attach it anyway you like. Collages can be held together using stitching, staples, pegs, whatever fits the theme of your own practice.
Collaging has captivated me for a long time. Now you know the path I follow to create collages. Why not have a go on your own? Let me know what methods and media work best for you in the comments below.
REFERENCE LINKS
The National Gallery The National Gallery, London
Claire Brewster Claire Brewster | Papercuts
Brother ScanNCut ScanNCut | Brother
Cricut Cricut Shop
Mod Podge What is Mod Podge? A Magic Craft Supply! – Mod Podge Rocks (modpodgerocksblog.com)
Decoupatch Decopatch Direct – Decopatch Models & Kits
Gorilla Wood Glue Gorilla Glue – Extremely Strong Glues, Tapes & Sealants
CHARLIE KIRKHAM NEWSLETTER
Sign up for free and be the first to get notified about updates.


Leave a comment