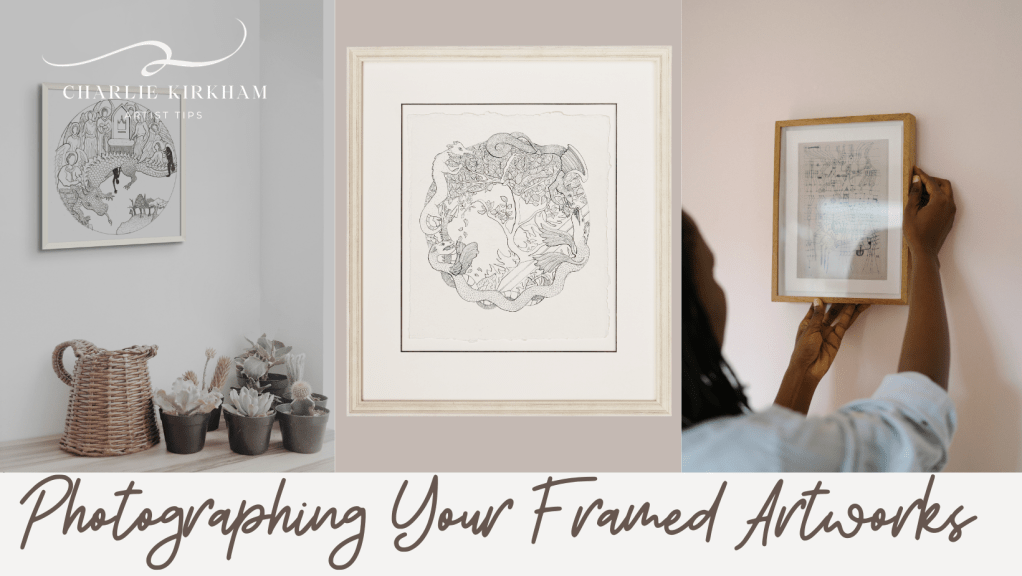
There are few things more frustrating that finishing a work, framing it perfectly and then as you take a photo to share your masterpiece your met with glare from the frame’s glass. When work is under glass if is incredibly difficult to photograph. In this post I’ll run through a few options to help you get great photos of your artwork in its frame.
In an ideal world all the photography we use as artists would be professional level. I’ve written about this before here. Before taking any artwork to the framers get the best scans or photographs you can of the work. The focus here is on photographs for promotion of work once it’s framed.
Why would I need a photo of the framed artwork?
- For online sales of framed works having a good quality photograph with the artwork frame in view is crucial to reassure your buyers
- Some exhibitions check the framing of works beforehand, this is especially true of shows where the frame has to follow a consistent theme (e.g. all artists need to use pine wood frames)
- You want to use the framed works in mockups for social media
- The artwork is in situ already (in a collectors house for example)
Top tips if the artwork is framed and in situ:
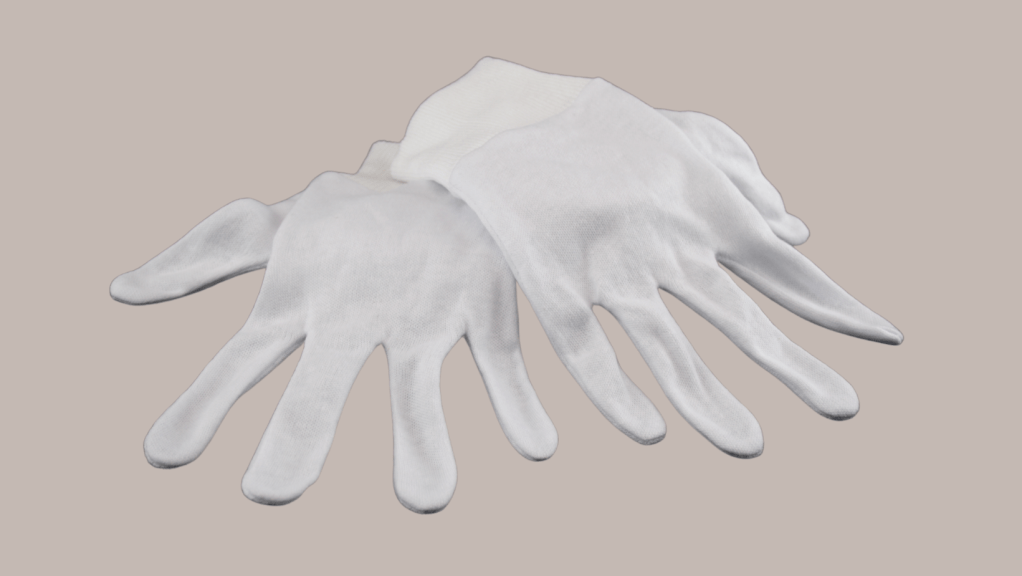
- clean the glass and frame, then using white gloves position away from direct light sources and windows to photograph
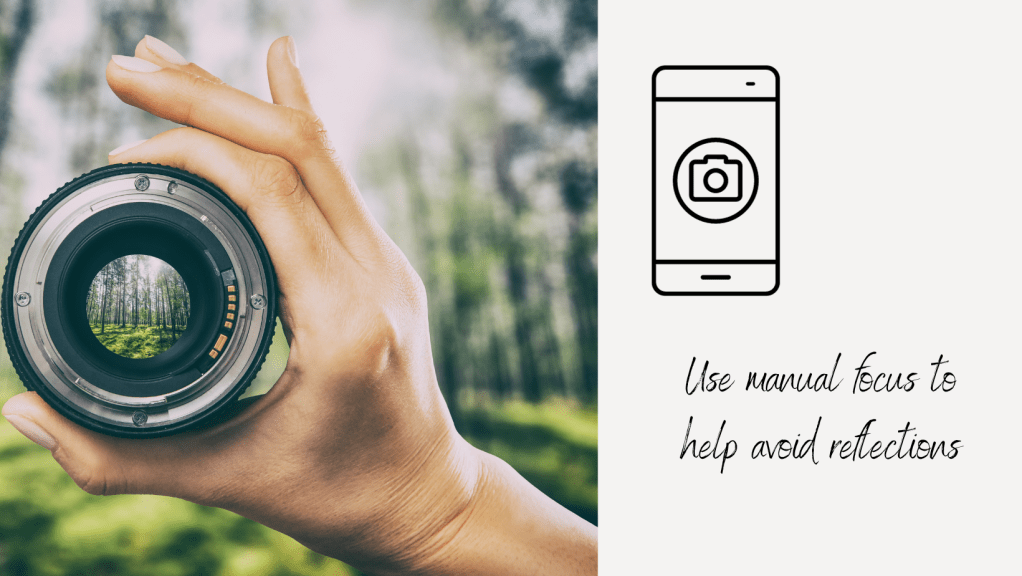
- use a manual focus to control the level of reflections
- oblique and angled shots allow you to avoid full reflections
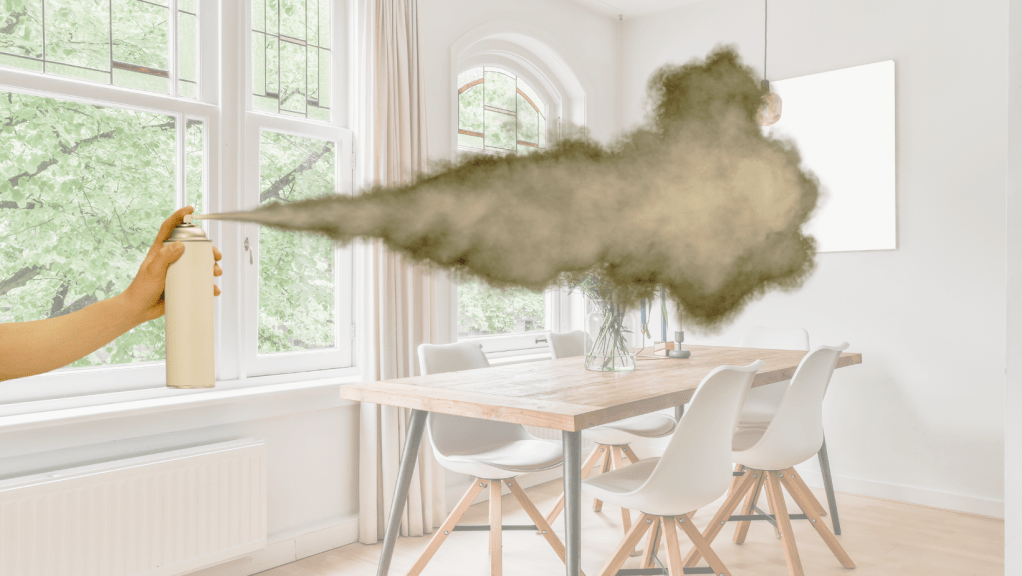
- K-Line dulling spray is your friend. You can spray this onto glass to minimise reflections during video or photography (remember to wipe it off afterwards!)
If you need crystal clear shots and can move the work then…
This is a more involved process to get amazing results

You Will Need
- clean white gloves* for handling the artwork, glass and frame
- dust wipes (microfibre cloths work best)
- clean level surfaces
- a tripod
- image editing software
- My top tip here is to use a professional photographer
- pen & paper / post-it notes (for multiple frames)
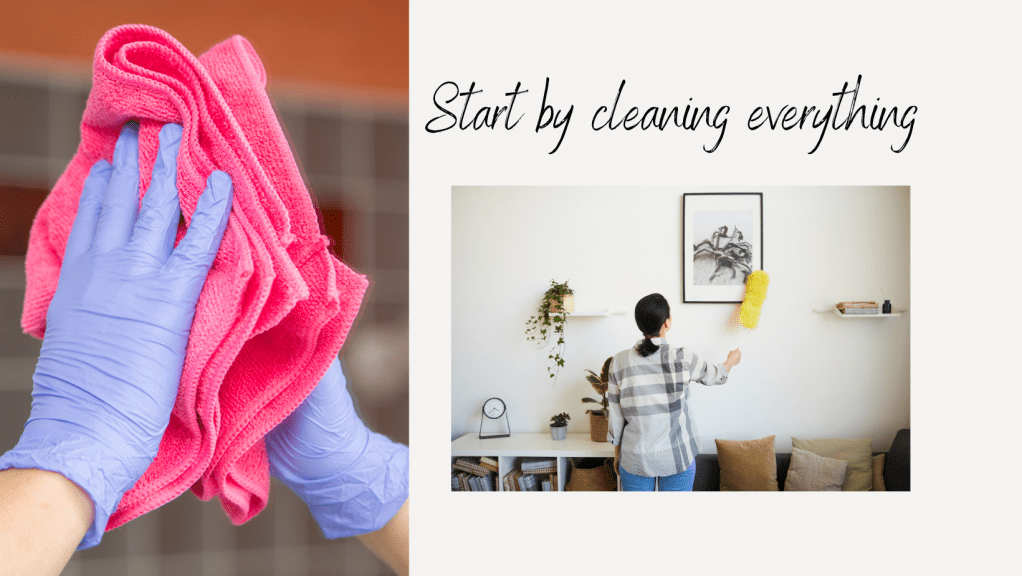
How to start
step 1 – clean everything! dust off the frames and surfaces you will use. You do not want to reintroduce dust into sealed frames on reassembly.
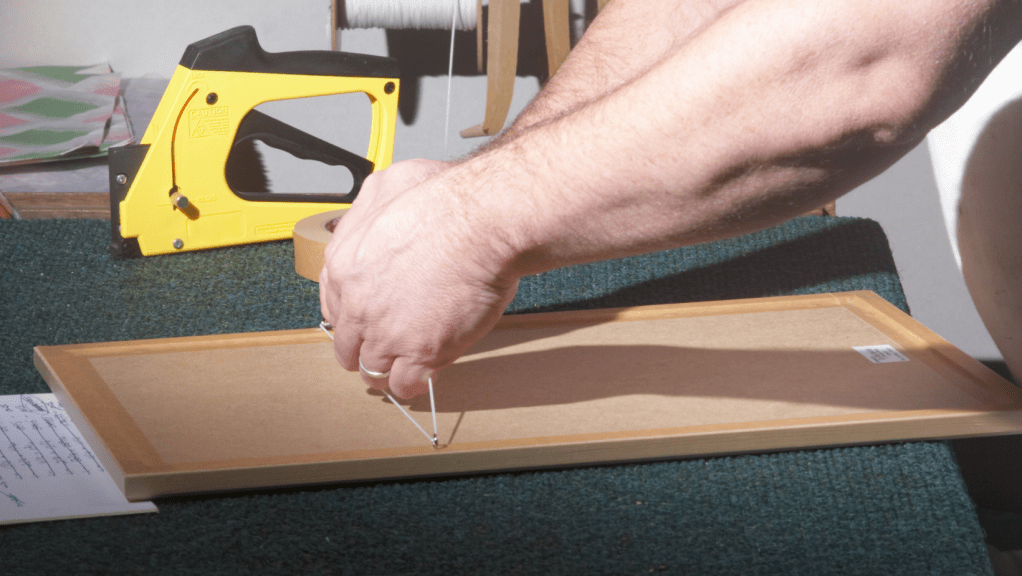
step 2 – take the artwork out of the frame by removing the framers tape, opening up the hook seals (they unfold and pull out) and then removing the artwork, backboard and glass.
step 3 – place the glass (handle with white gloves) on the level surface to one side. If you are dismantling multiple frames write on a piece of paper which frame the glass is for and place the glass on this paper. Even frames the same size can have slightly different cuts to the glass. Don’t risk a mix up later.
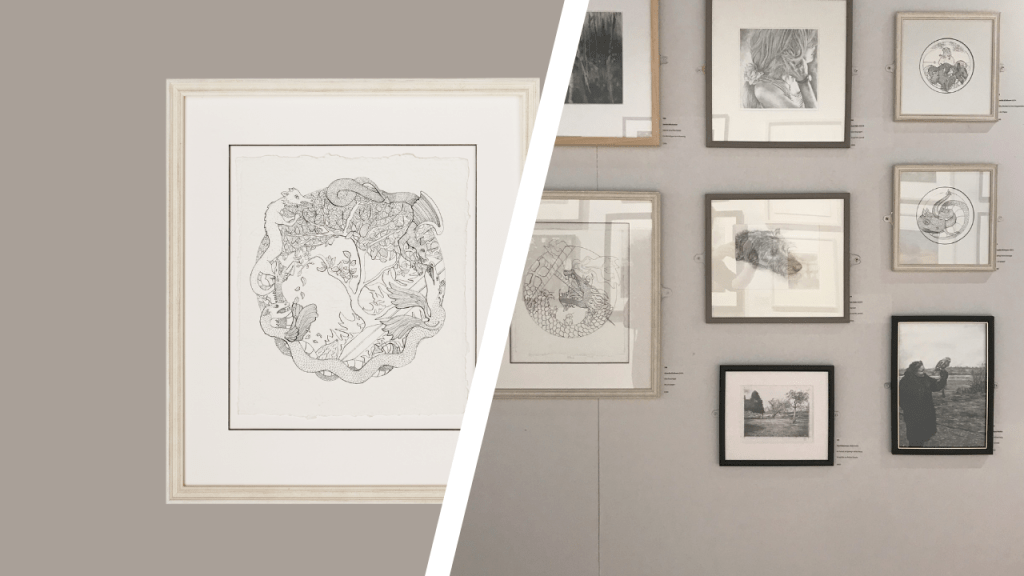
step 4 – using white gloves place the artwork back into the frame (you won’t need to tape the back) without the glass. This gives you a perfect example of the framed artwork without the reflective glass layer
step 5- photograph the artwork using a tripod to keep the camera level
step 6 – using white gloves the artwork out of the frame, replace the glass layer, place the artwork back into the frame and seal with framers tape, being careful to avoid any dust.
REFERENCE LINKS
K-Line Dulling Spray – Matt — CineStore the spray to get rid of reflections
Fraction Corporate Photography (fraction-cp.co.uk) For UK photography services
Charlie Kirkham Artwork Site
*there is an ongoing debate on whether cotton gloves or powder free nitrile gloves are best for handling artwork that could be damaged by the skins oils. For photographic work wearing gloves is a must, for other artworks simply washing and drying the hands might be a better option.


Leave a comment