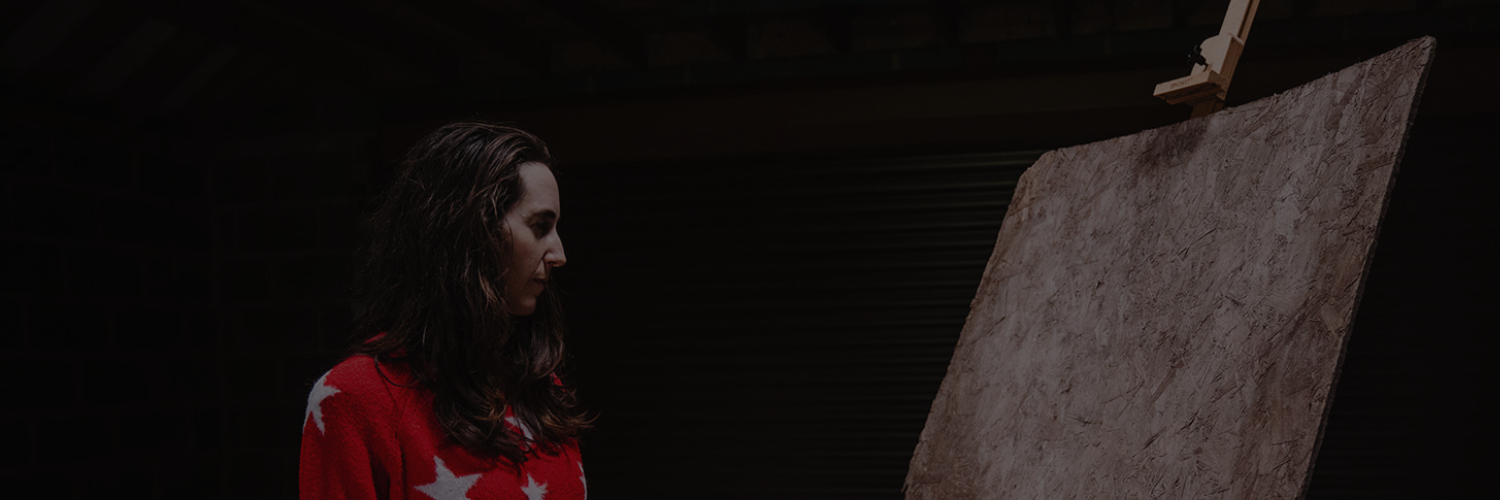
For a while now I’ve been working on a series of brushed gold pieces using laser engraving. It’s so great seeing how these have turned out and enjoying the shiny reflective surfaces. What I didn’t anticipate is how hard they are to document.

From reflections in the photos to impossible scans these come with a whole set of challenges. I’ve spoken here about how to photograph glazed works about why it’s important to document your artwork and the process behind it.
The difficulty in documenting these metallic works has made pitching them really challenging. At last there’s a method that works and I want to share it with you.
Here are my tips for photographing metallic or reflective 2D artwork:
1. Choose the Right Location: Set up your photography area in a space with controlled lighting. Avoid harsh overhead lights or direct sunlight, as they can create unwanted reflections on the metal surface. You can create a ‘light tent’ to work in by using white card or fabric to block out everything except the immediate surroundings.
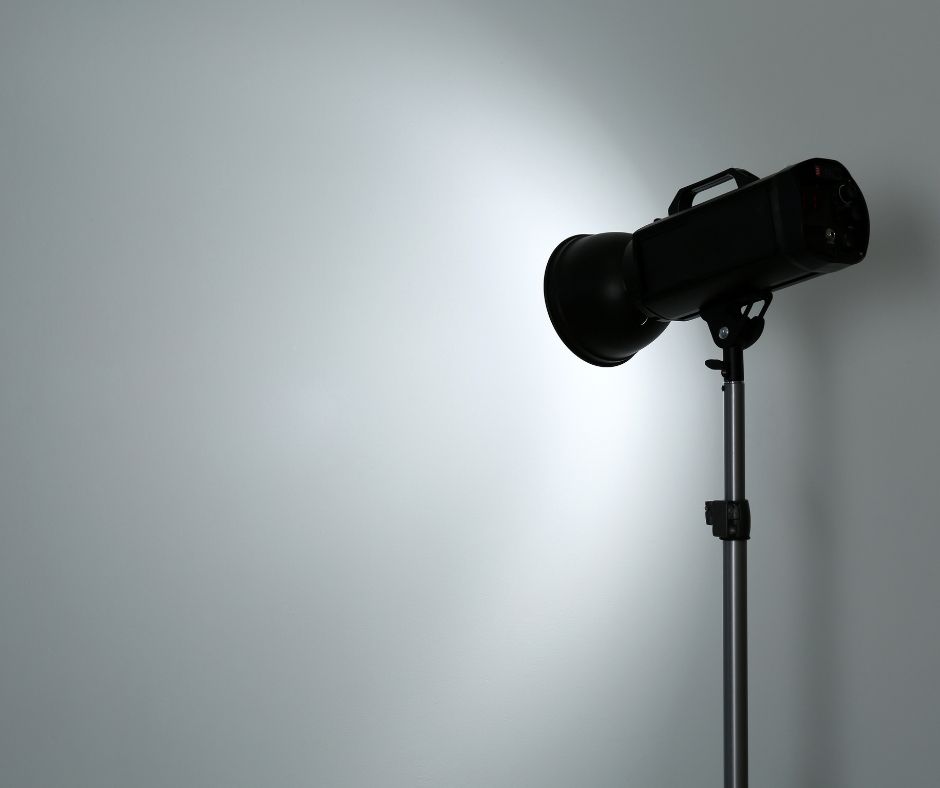
2.Use Diffused Lighting: Use soft, diffused lighting sources to minimize harsh reflections on the metal surface. You can achieve this by using softboxes, diffusers, or shooting during cloudy days to diffuse natural light. This works well if you’re creating a secondary or in situ image of works
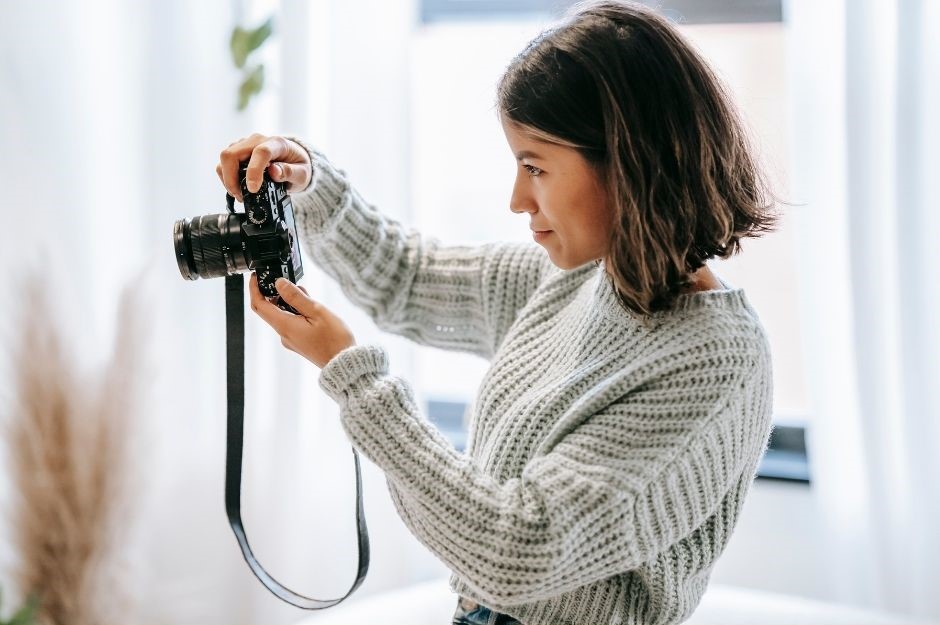
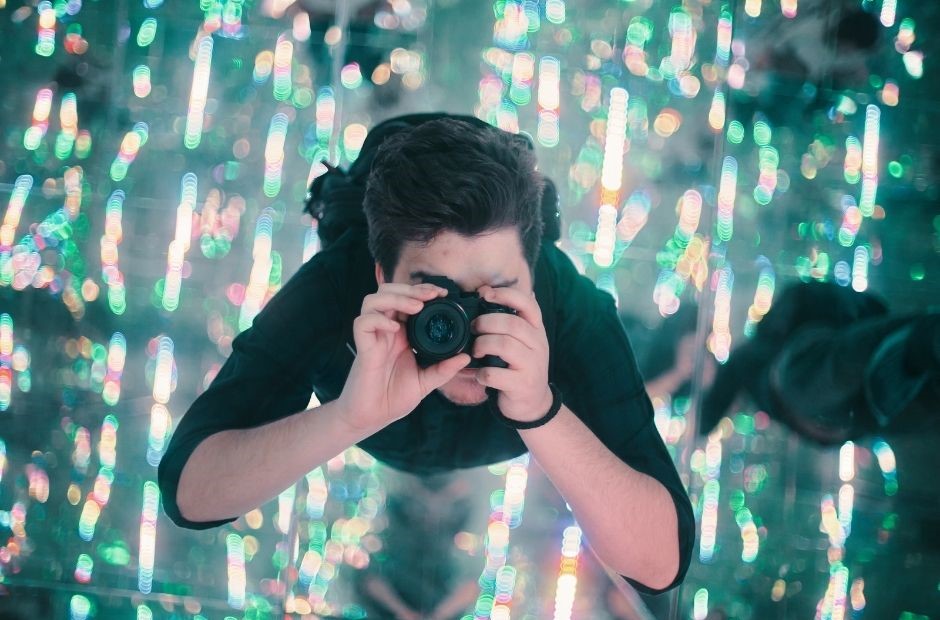
3. Adjust Camera Settings: Set your camera to manual mode to have full control over the exposure settings. If you choose a lower shutter speed use a tripod to stabilise the camera.
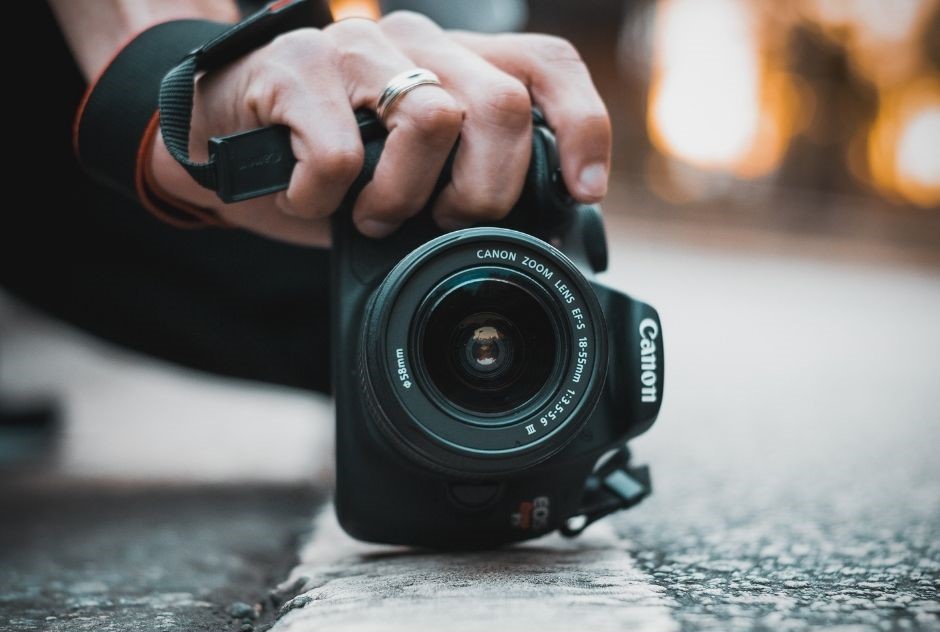
4. Experiment with Angles: Try shooting from different angles and perspectives to avoid the glare. Again this is best for the secondary or detail shots.
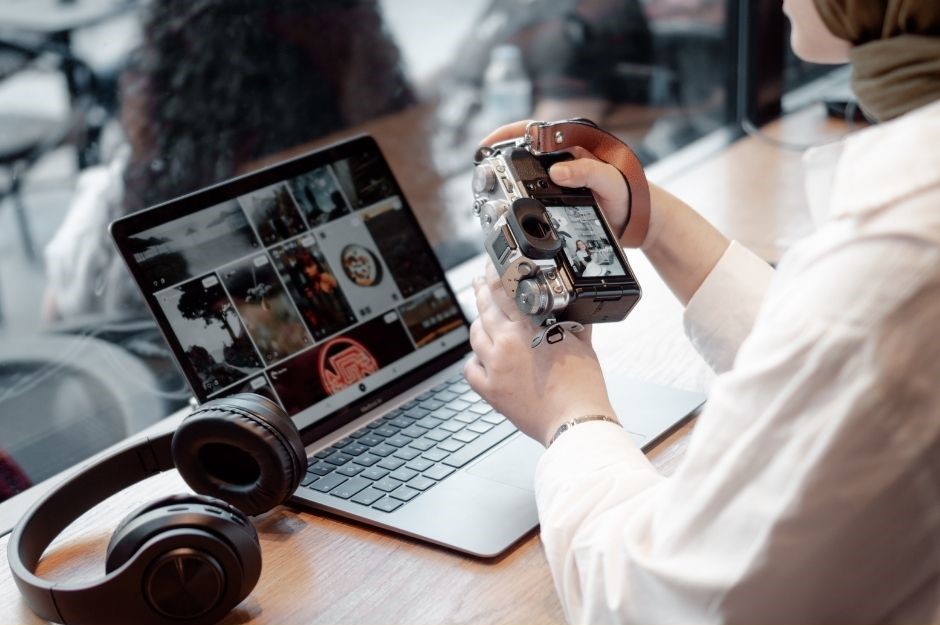
5. Post-Processing: Use a photo editing package to adjust the images. This works well if there are only minor reflections.
Wait, it’s a small piece, can’t I just scan it?
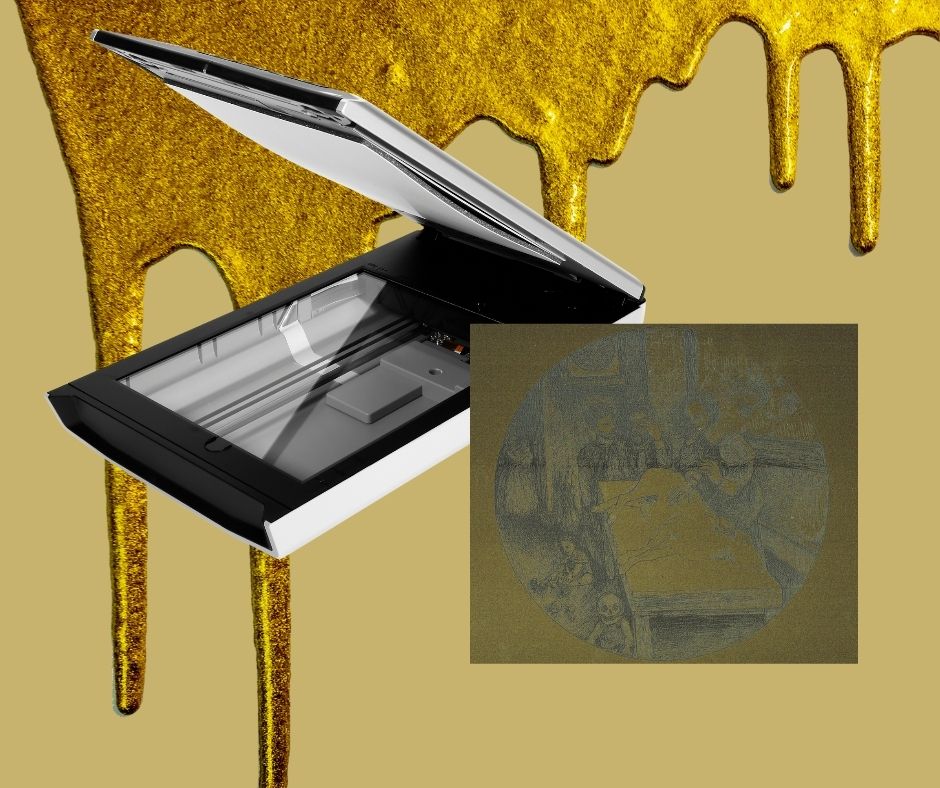
Sure you can, but if you scan it the surface has no room for light to bounce so it’ll end up looking pretty dark…like this dark scan shown above.
My top tip is to create a buffer zone between the scanner bed and the artwork. I use thin slices of cork in between the scanner bed and the artwork to allow a little bit of reflective bounce back.
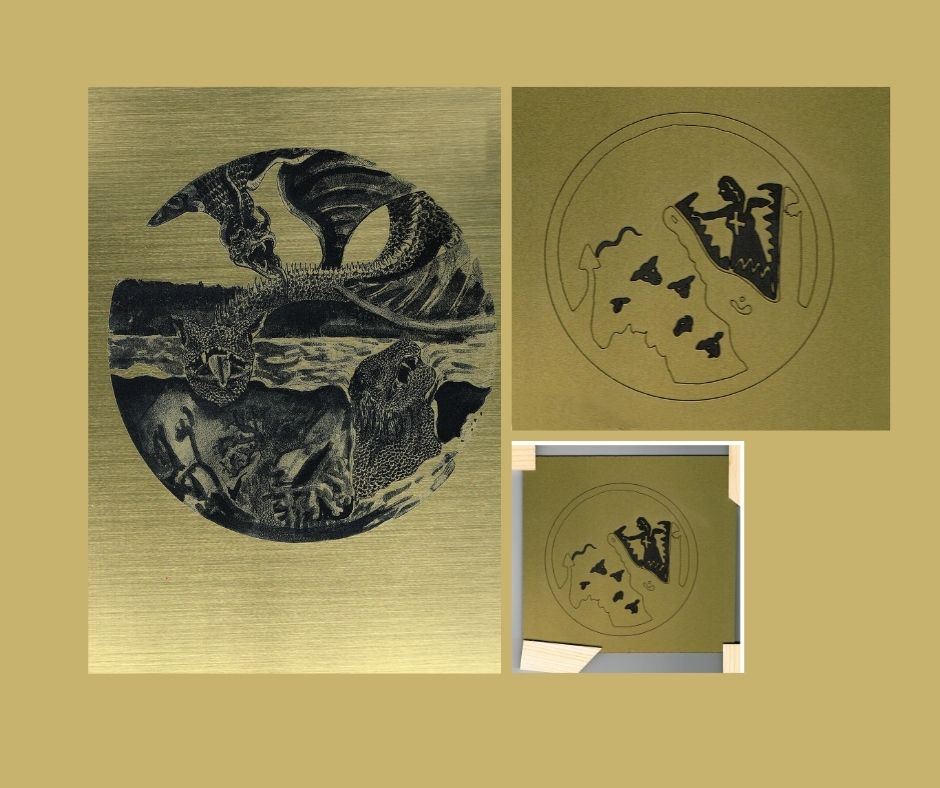
This is now my favourite method for documenting the works!
You can effectively document highly reflective artworks, even mirrored artworks. It’s about experimenting and finding out what works best.
What do you do to get the best images of reflective artworks? Comment below I love to hear from you.
REFERENCE LINKS


Leave a comment