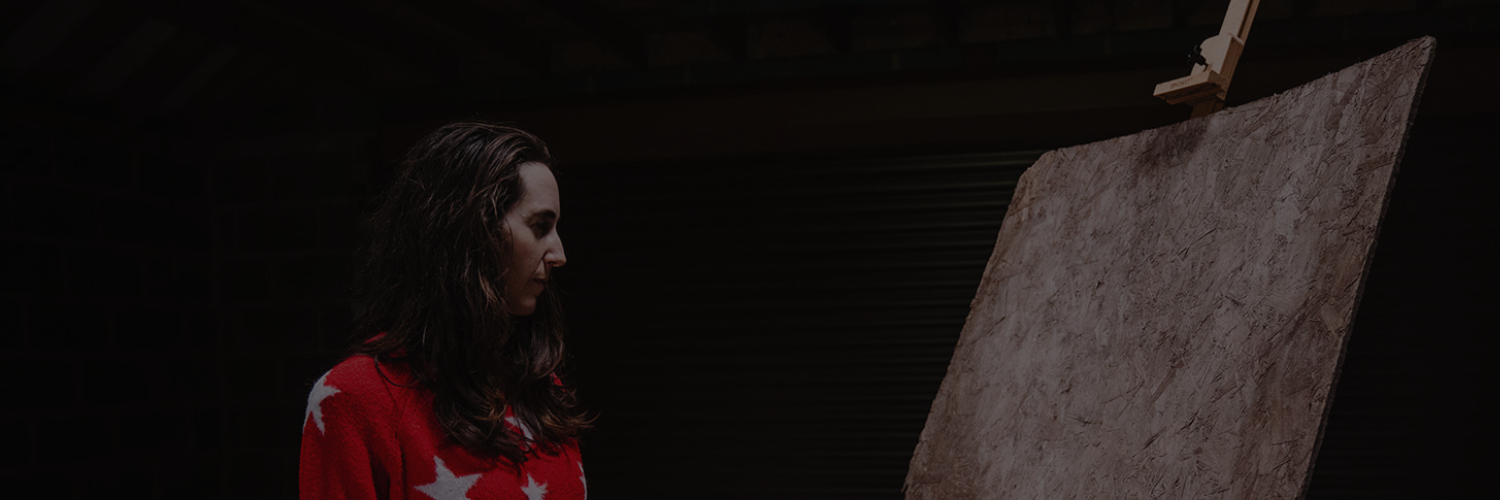

STEAMhouse Create Programme: in the production space
Originally, back when I applied to Create, I had hoped to have prototypes done by January with a final product run for the end of March 2023. It’s amazing when you think you’ve got the hang of something just how wrong you can be! I’m still running tests on prototypes and it’s February.
Running out of time is an issue we all face as artists, there is never enough time to create and promote is there?

Let me tell you a secret, when I started, I thought that my papercut versions were effectively thin prototypes and I could simply press go and transfer them to wood or plastic. How wrong I was! It shouldn’t have been surprising that paper, wood and acrylic would all behave uniquely but it was. Even the different sheets of acrylic behave differently from one another…
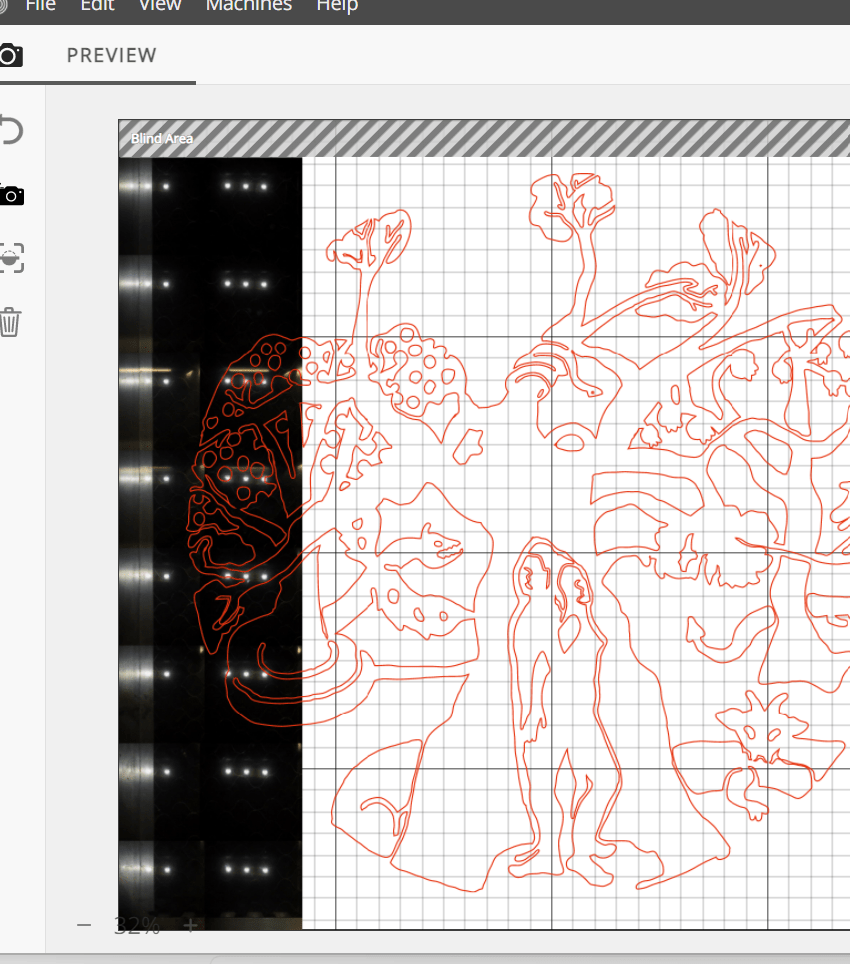
Behind the scenes I’d decided on acrylic (plastic) as a viable medium to work. Now all I needed was to adjust every setting on the software to match the offcuts…What I like about Beam Studio is the ability to see the laser bed, essential if you’re using offcuts where space is critical. Working on the black sheet against the dark bed did make it hard to see the edges, meaning even with the camera to help I misaligned the second sheet.
The first black acrylic sheet did not survive. The smell was terrible. It’s a sure-fire way to clear everyone from near the laser cutter.
Lesson learned: never trust labels on offcuts. Re-measure to make sure it really is 3mm…check the settings then check the settings then ask someone else to check the settings. The white acrylic and second sheet of black survived, with minor smoke marks on the white.

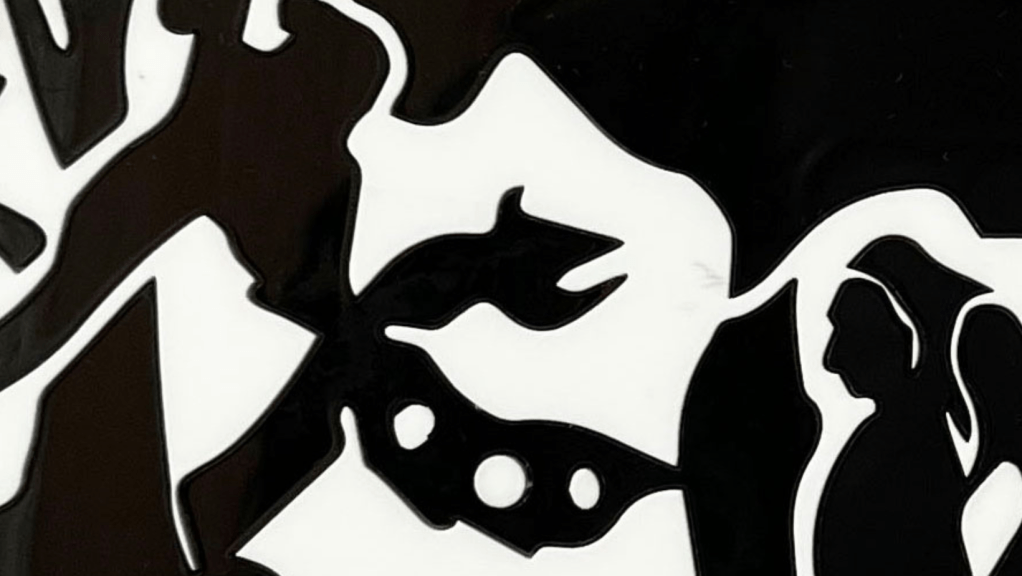
Trying to decide on where to make the edits to a design is an intriguing process. One of the pit falls of the acrylic is just how brittle it is. Every snap has an impact on the joining process. Suddenly, the marquetry won’t work because the surfaces are no longer smooth.
It’s a tough process of adjusting, trailing and readjusting. It’s quite incredible to be doing though. After years of thinking about it, now I’m actually doing it. That feeling is unbeatable. So, I’m feeling pretty happy that I can see the start of some beautiful things coming through. It is taking some courage on my part to keep going and remind myself that the results will be awesome.
What I love about the whole experience of Create is how it’s helping me to feel more confident and professional. I’ve never struggled to talk to other creatives on an individual basis, groups have always been quite the challenge though. Through taking part in Create at STEAMhouse I’m learning a lot about my own why. It’s giving me the rock-solid foundation as an entrepreneur which I skipped in Art School.
I’m reminding myself to celebrate each miniature success. There is a staggering amount of learning with each new material and each design.
My main take away from the second run on the laser cutter is to factor in the variability of the materials. The white cut beautifully on the settings that melted the black. Paul, the lead technician, had pointed out that materials alter the results still, I was surprised at the level of variability.
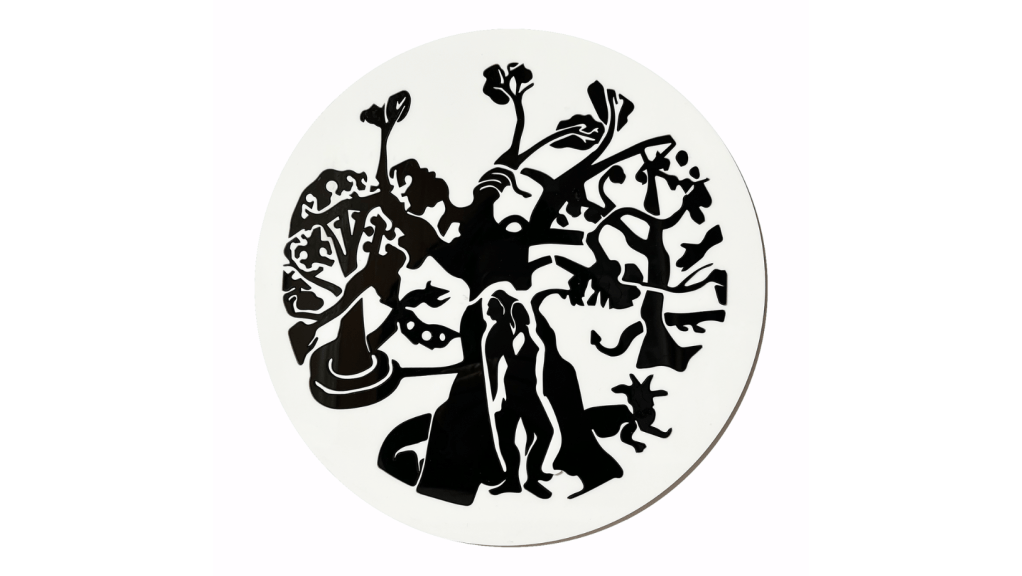
It’s a thought-provoking process taking intricate ink drawings and pulling them into abstracted designs. The key for me has been to focus on the why of each drawing. I focus on why I created it, what the meaning is and then focus on key elements that convey that meaning.
Working with the acrylic has exposed design flaws that the paper hide, the extra thickness in the material and the brittle nature of the plastic ensures I cannot get away with tight areas. The next step is to go back to the design phase and fix up the weak points.
Want to be the first to see what’s next? Subscribe to the mailing list below.
REFERENCE LINKS
CHARLIE KIRKHAM NEWSLETTER
Sign up for free and be the first to get notified about updates.

Leave a comment