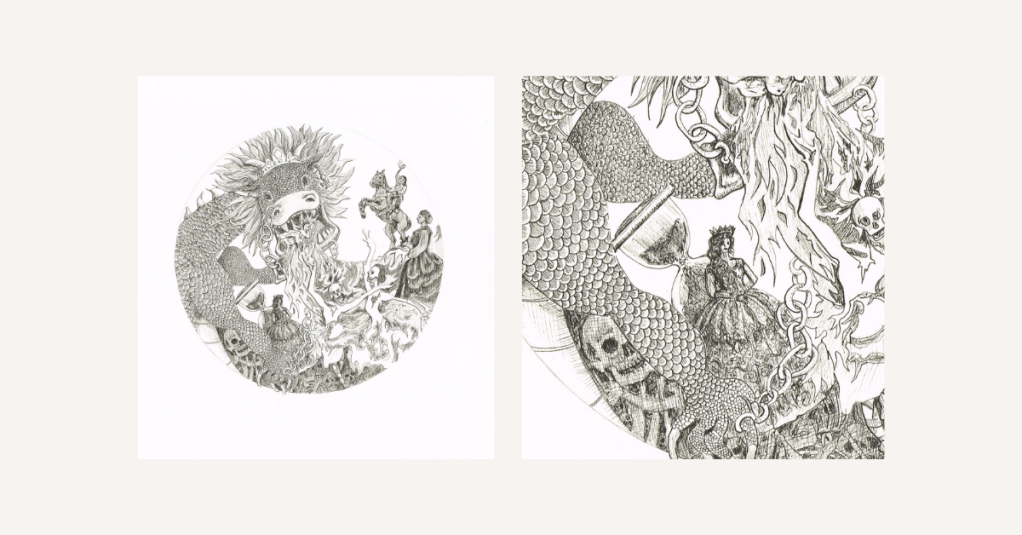
You’ve probably figured out by now that I’m very into detailed drawings. In fact, some people have accused me of being obsessive…
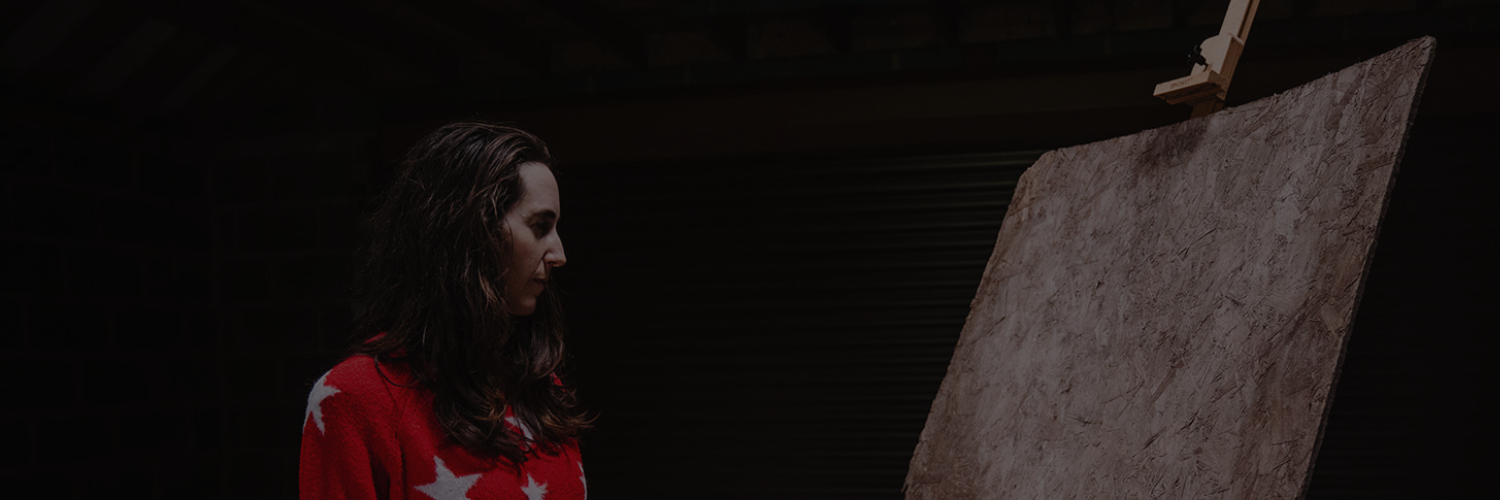
In previous years I’ve worked on large scale drawings and paintings, heck in 2013 I was working on a 7ft mural for Coventry Council! Nowadays, my portable mini-dragons fit better with my lifestyle. Easy to tuck into a bag, the little dragon drawings are my artist equivalent of checking the iPhone. Much as I love the intimacy of this scale I miss the Wow Factor of larger work.
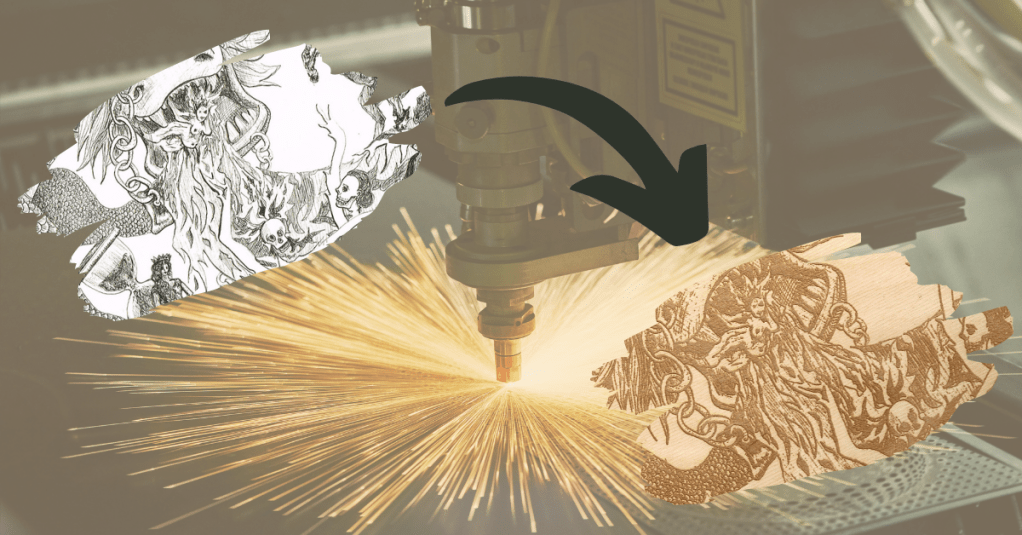
What’s my point here? Well, this all lead to an idea. The idea is to re-create the hand drawn dragons using the laser etching function, on a larger scale.
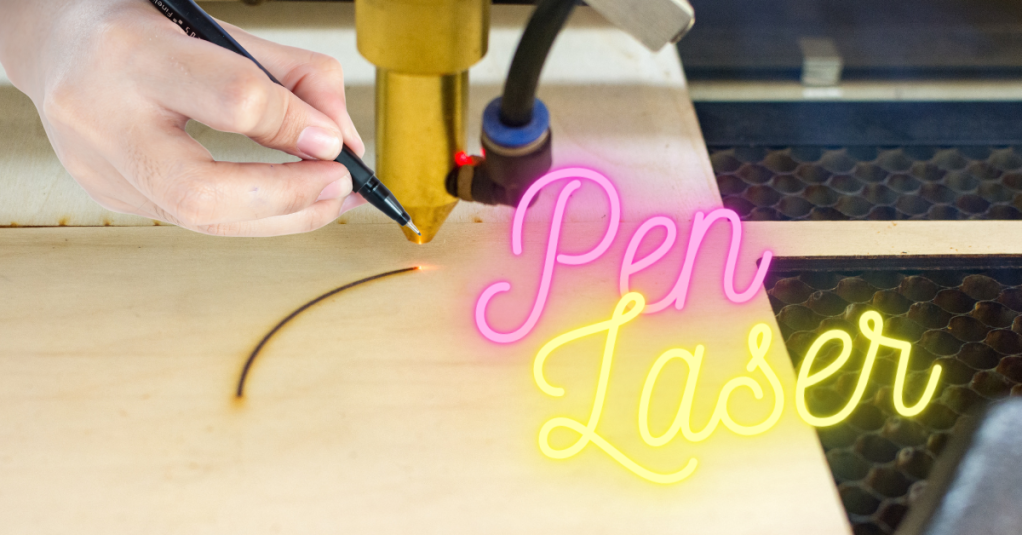
Now, it’s no secret that STEAMhouse Production Space is my home away from home. Learning about laser cutting has been amazing.
Before I enter into more musings on the process, here’s an overview of what the process actually is:
- Hand drawing (this post explains my process)
- Scan drawing into PC
- Check scan for accuracy, adjust brightness/contrast as needed
- Take the photo straight into Beam Studio
- In Beam play with either the Gradient setting or the Grading setting
- In Beam set the etching settings for the material
- Prepare the material for usage (clean surface, protective film on front removed)
- Place material (in this case MDF) on the Flux Laser bed
- Double check the settings on Beam
- Focus the laser beam
- Start the engraving. The laser beam follows the design precisely, the heat from the beam vaporizes the excess material and creates the engraving
- When finished remove from laser bed
Laser engraving is typically used to create permanent engravings on materials like wood, acrylic, glass, and metal. The settings for each material are in the software. The STEAMhouse workshop have a reference chart to see the speed and power settings for each material. This has been really helpful as the custom settings in Beam can be altered as needed to try to get a better etch.
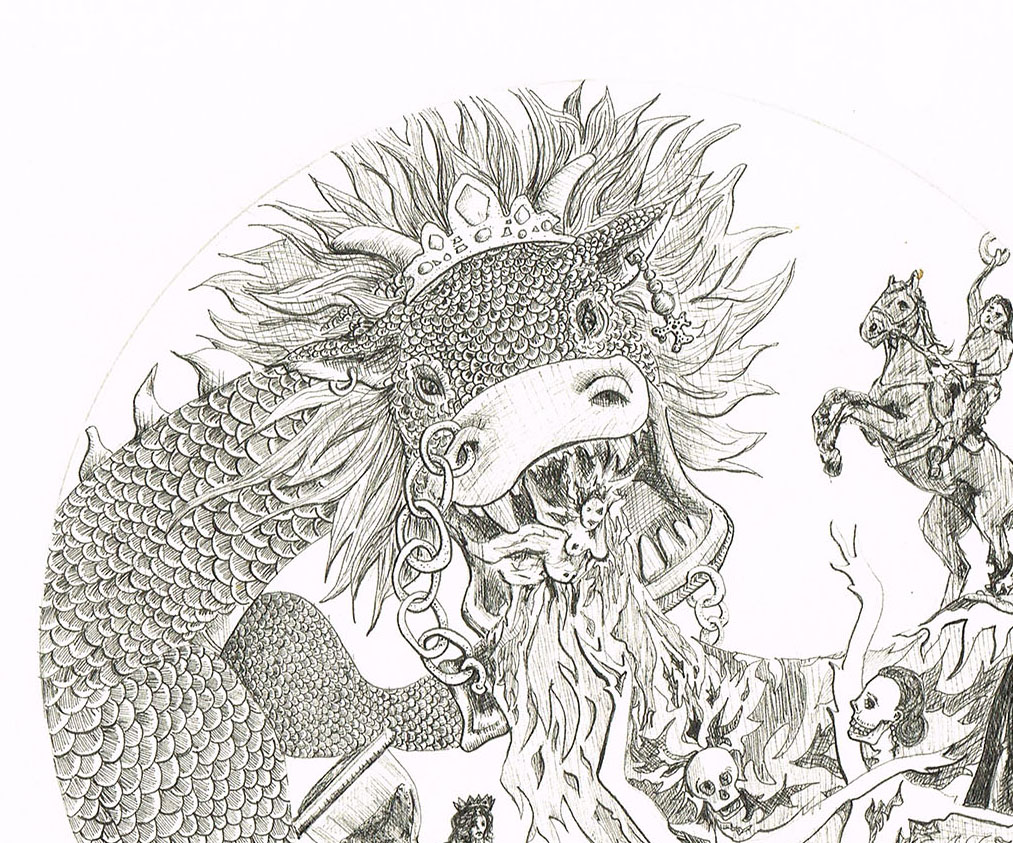
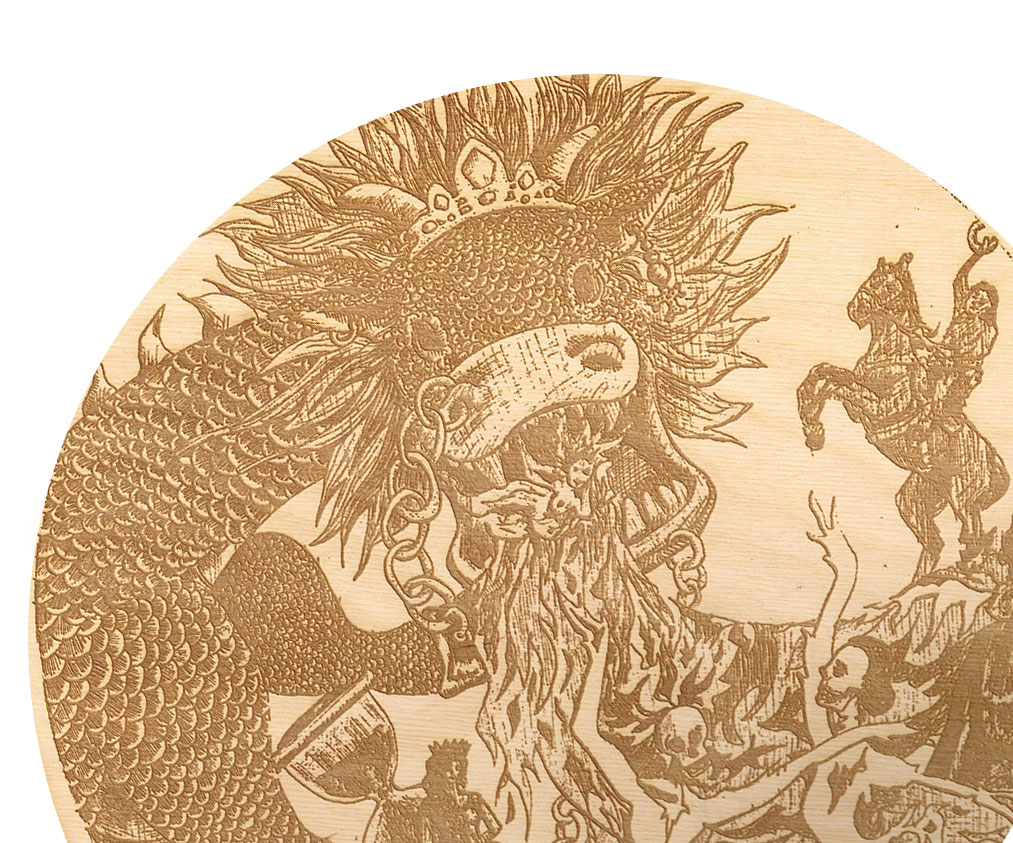
How did they turn out?
So, it’s a mixed bag! Some of the detail came over really well, other lines burned out completely and turned to mush. What is a struggle, is trying to recreate tonality and line weight accurately.

What’s frustrating is that the darker areas are cross-hatched meaning the laser beam is trying to recreate each line, digging up the previous lines in the process.
To be honest, I think the direct method of engraving off the scans is problematic. An editing process to clean up the drawings may be needed to help reduce the amount of lines in some areas. What I want to try next is scaling up one of the problem areas and seeing if a cross-hatch effect would work with more space around each line.
Have you successfully translated a drawing into an etching? What methods would you recommend?
REFERENCE LINKS


Leave a comment